How to make soap with breast milk? Breast milk soap is a natural and gentle alternative to commercial soaps. It is rich in vitamins A, C, D, and E, which promote skin health. Breast milk soap can also produce a rich, silky lather and enhance the effects of honey and olive oil.
Making breast milk soap is a simple process that can be done at home. There are two methods for making breast milk soap: melt and pour and cold process. The melt and pour method is perfect for beginners who want to make soap without lye, while the cold process method is for more experienced soap makers. Both methods are a great way to make beautiful soaps using your own milk as a fresh ingredient.
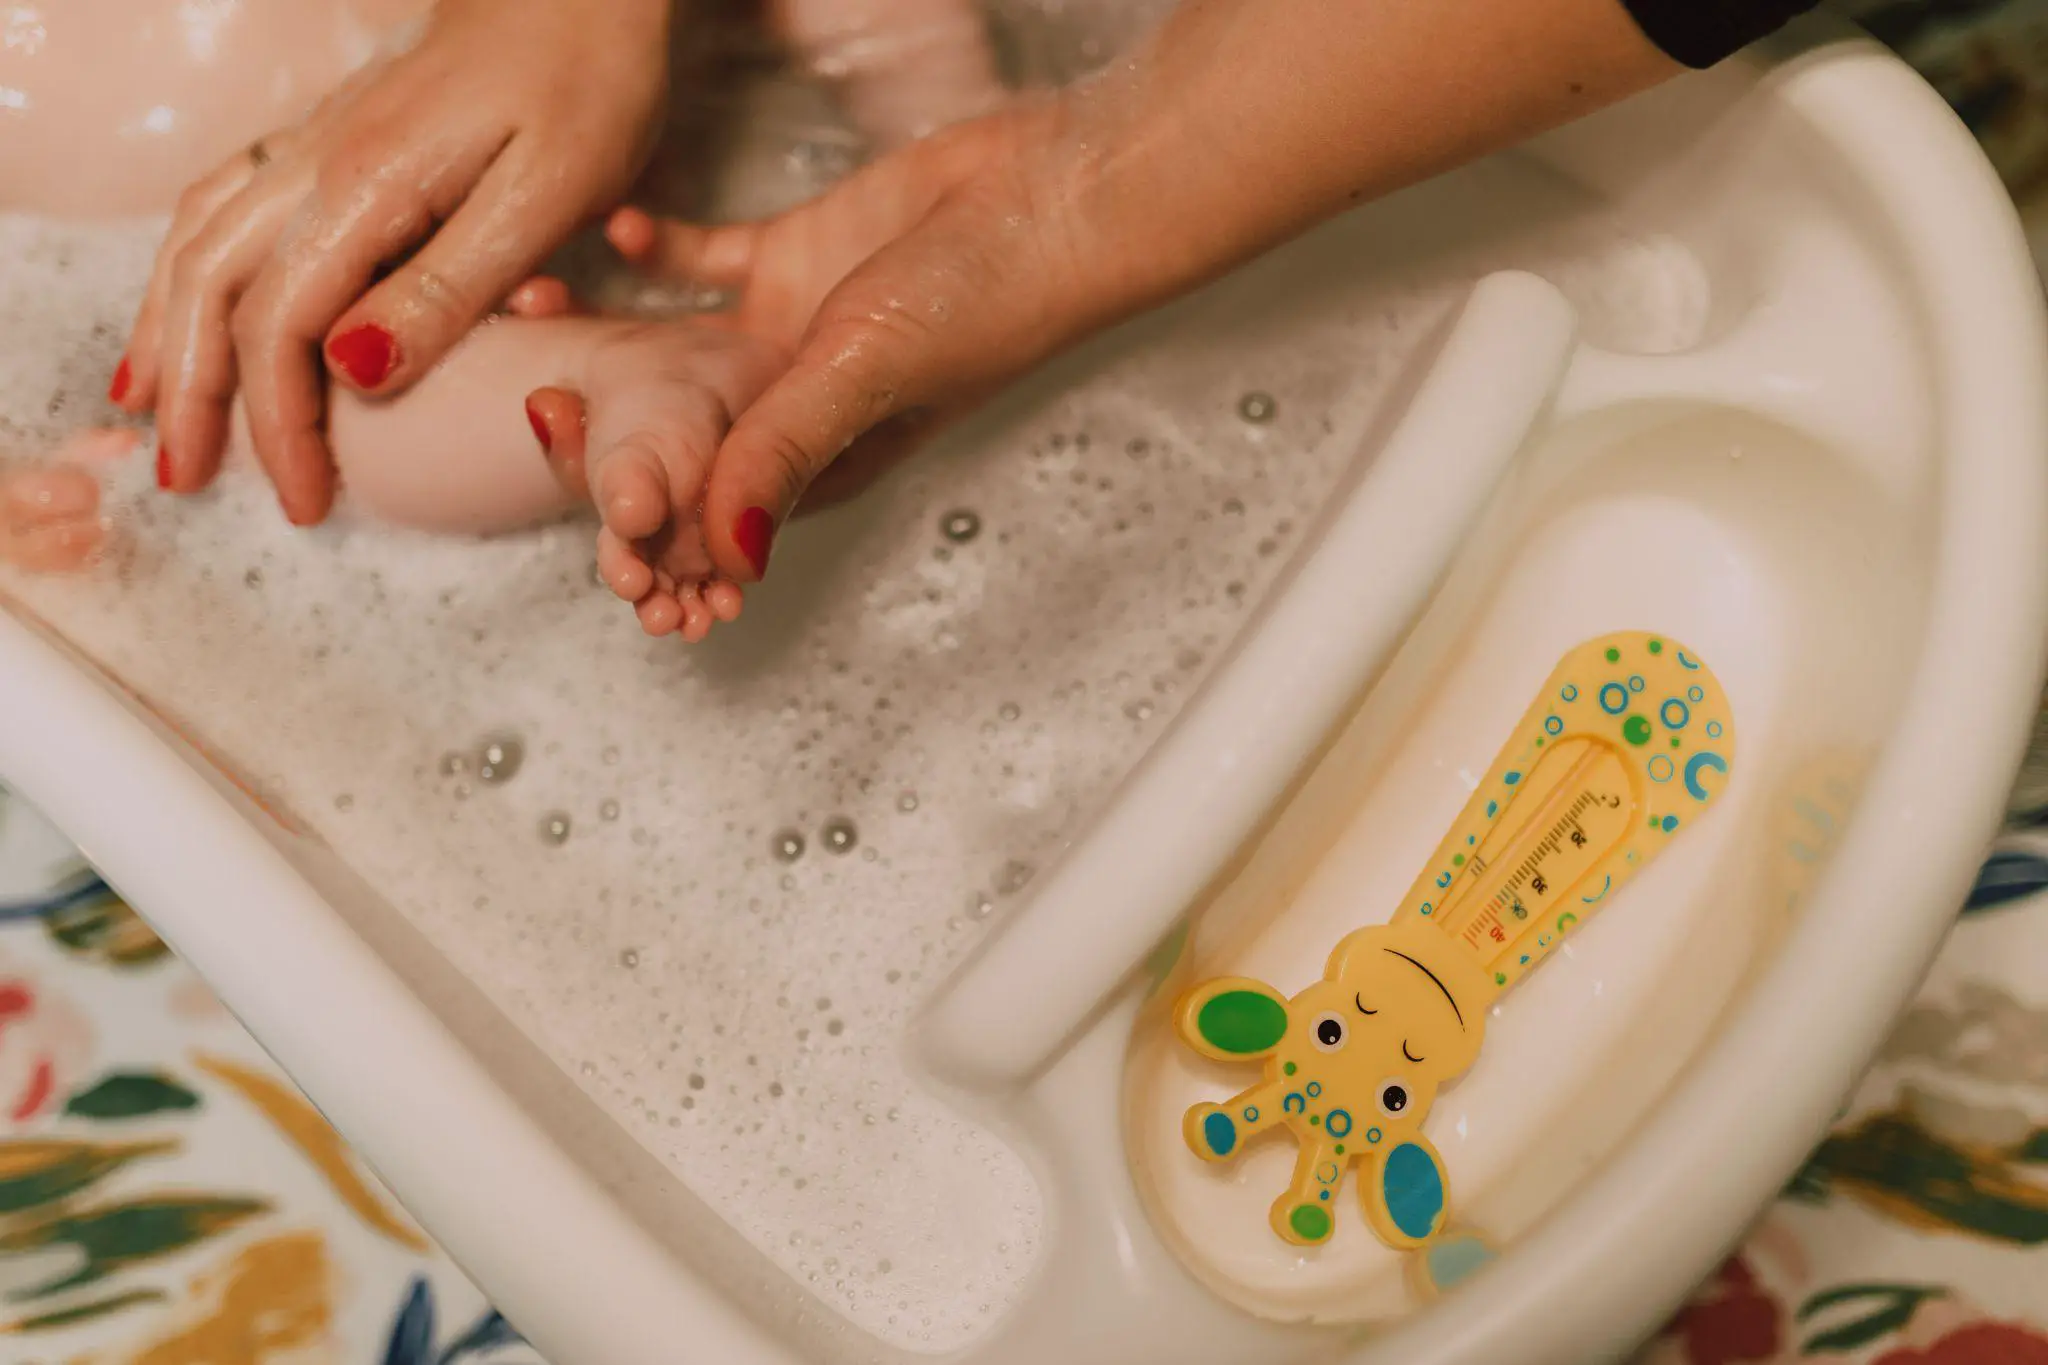
Breast milk soap can relieve skin conditions that cause itching and dryness. It is safe for everyone and your whole family can benefit from it. In the following paragraphs, we will explore the benefits of breast milk soap and provide a step-by-step guide on how to make it at home.
Understanding Breast Milk Soap
Breast milk soap is a form of soap that is created from breast milk and is believed to have numerous skin-friendly properties. Natural lipids and proteins found in breast milk can help hydrate and nourish the skin. A, C, D, and E vitamins are also present, which are crucial for having healthy skin.
Breast milk soap can be made using different methods, such as melt and pour or cold process. The melt and pour method involves using a pre-made soap base that is melted down and mixed with breast milk and other ingredients. The cold process method involves mixing lye with breast milk and oils to create soap from scratch.
One of the benefits of making breast milk soap is that it can be customized to suit different skin types and needs. For example, adding honey or oatmeal can help soothe and moisturize dry or itchy skin. Adding essential oils can provide additional benefits such as calming or energizing effects.
It is important to note that breast milk soap should be used within a few months of being made, as it can spoil over time. It is also recommended to test the diy breast milk soap on a small area of skin before using it all over the body, as some people may be allergic to breast milk or other ingredients used in the soap.
Overall, breast milk soap can be a natural and nourishing option for those looking for a gentle and customizable soap for their skin.
Benefits of Breast Milk Soap
Breast milk soap is a natural and gentle soap that offers many benefits for the skin. Here are some of the benefits of using breast milk soap:
Moisturizes the skin
Breast milk contains natural fats that help moisturize and nourish the skin. When used in soap, breast milk can help hydrate and soften the skin, leaving it feeling smooth and supple.
Promotes skin health
Vitamins A, C, D, and E, which are crucial for keeping good skin, are abundant in breast milk. These vitamins support collagen development and shield the skin from free radical damage, which can lessen the appearance of wrinkles and fine lines.
Soothes skin irritation
Breast milk contains anti-inflammatory properties that can help soothe and calm irritated skin. It can be particularly helpful for those with skin conditions such as eczema, psoriasis, and rosacea.
Gentle on sensitive skin
Breast milk soap is gentle and mild, making it an excellent choice for those with sensitive skin. It is free from harsh chemicals and synthetic fragrances that can irritate the skin, making it a safe and natural option for cleansing the skin.
Environmentally friendly
Breast milk soap is a sustainable and eco-friendly alternative to conventional soap. It is made from natural ingredients and does not contain any harmful chemicals that can harm the environment.
Overall, breast milk soap is a natural and gentle soap that offers many benefits for the skin. It is a safe and effective way to cleanse, moisturize, and nourish the skin, making it an excellent choice for those looking for a natural and eco-friendly alternative to conventional soap.
Required Ingredients
To make breast milk soap, there are a few ingredients that are necessary. These include:
- Melt and pour soap base: This is a pre-made soap that can be melted down and used as a base for the breast milk soap. It is important to choose a soap base that is free from harsh chemicals and additives.
- Breast milk: This is the key ingredient in breast milk soap. It is important to use fresh, unpasteurized breast milk that has been expressed and stored properly.
- Honey: This natural preservative can help to extend the shelf life of the soap and also has moisturizing properties.
- Essential oils: These can be added to the soap for fragrance and additional skin benefits. It is important to choose high-quality, baby-safe essential oils that are suitable for use on the skin.
- Soap fragrance and colorant: These are optional ingredients that can be added to the soap to enhance its appearance and scent.
When gathering the ingredients for breast milk soap, it is important to ensure that everything is clean and sterile. This will help to prevent contamination and ensure that the soap is safe for use on the baby’s skin.
It is also important to follow the recipe carefully and measure out the ingredients accurately. Using too much or too little of an ingredient can affect the quality and effectiveness of the soap. With the right ingredients and careful attention to detail, it is possible to create a high-quality breast milk soap that is gentle and nourishing for the skin.
Safety Precautions
Making breast milk soap is a fun and rewarding DIY project, but it’s important to take certain safety precautions to ensure that the soap is safe to use. Here are some things to keep in mind:
1. Use Protective Equipment
When working with lye, it’s important to use protective equipment to avoid any accidents. This includes gloves, goggles, and a mask. Lye is a caustic substance that can cause chemical burns if it comes into contact with skin or eyes, so it’s important to take proper precautions.
2. Work in a Well-Ventilated Area
Work in a well-ventilated place since lye can emit fumes that can be dangerous if inhaled. To assist move the air around, open the windows or use a fan.
3. Follow the Recipe Carefully
When making breast milk soap, it’s important to follow the recipe carefully. This includes measuring ingredients accurately and following the instructions for mixing and pouring. Don’t make any substitutions or changes to the recipe unless you’re an experienced soap maker and know how to adjust the recipe accordingly.
4. Keep Children and Pets Away
When making breast milk soap, it’s important to keep children and pets away from the area. Lye and other soap-making ingredients can be dangerous if ingested or touched, so it’s important to keep them out of reach.
5. Allow the Soap to Cure
After making breast milk soap, it’s important to allow it to cure for several weeks before using it. This allows the soap to fully harden and ensures that any remaining lye has been neutralized. Don’t use the soap until it’s fully cured.
By following these safety precautions, you can ensure that your breast milk soap is safe to use and enjoy.
Step-by-Step Guide
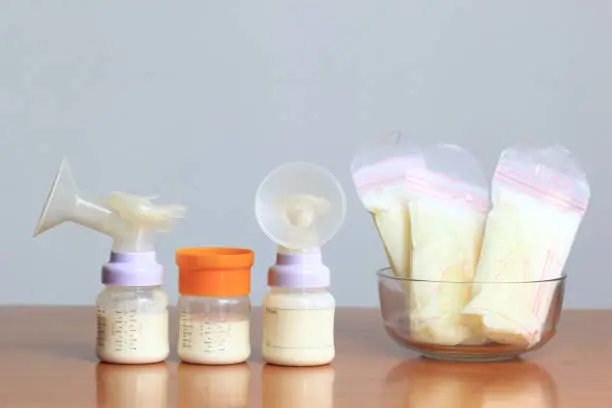
Extracting Breast Milk
Before making breast milk soap, it’s necessary to extract breast milk. Use a breast pump or hand-express milk into a clean container. Ensure that the container is free from bacteria and sterilized. It’s essential to use fresh milk that hasn’t been frozen or thawed for the best results.
Preparing the Soap Base
There are two methods to prepare soap base: melt and pour or cold process. For melt and pour, buy a pre-made soap base and melt it down over the stove or in a microwave. For cold process, mix lye with oils and let it cure for several weeks.
Mixing Ingredients
Once the soap base is prepared, it’s time to mix it with breast milk and other ingredients. Some popular ingredients include essential oils, honey, and oatmeal. It’s essential to measure the ingredients accurately to ensure the soap’s quality.
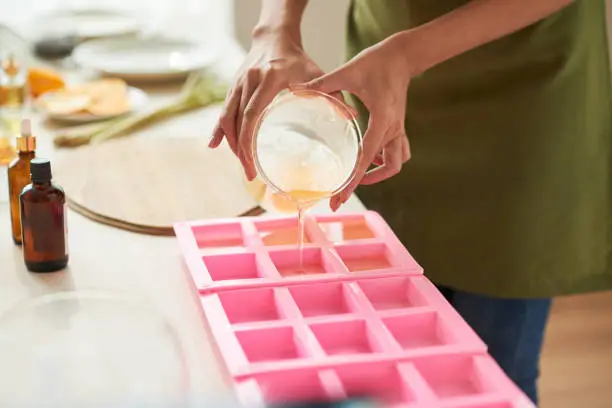
Molding and Curing
After mixing the ingredients, pour the soap mixture out into silicone soap molds and let it cure for several days. It’s essential to let the soap cure for at least four weeks to ensure that it’s safe for use. Once the soap has cured, remove it from the mold and cut it into bars.
Making breast milk soap is an excellent way to use up extra milk and create a unique product. With these simple steps, anyone can make their own breast milk soap at home.
Troubleshooting Common Issues
Breast milk soap making is not always a smooth process. Here are some common issues that may arise and how to troubleshoot them:
Soap not hardening
If the soap is not hardening, it may be due to the following reasons:
- Insufficient lye: The lye may not have been added in the right proportion. It is important to measure the lye and the other ingredients accurately.
- Insufficient stirring: The mixture may not have been stirred enough. It is important to stir the mixture until it reaches trace (when the mixture is thick enough to leave a trail).
- Humidity: High humidity can affect the hardening process. Try placing the soap in a dry, cool place.
Soap crumbling or breaking
If the soap is crumbling or breaking, it may be due to the following reasons:
- Insufficient lye: The lye may not have been added in the right proportion. It is important to measure the lye and the other ingredients accurately.
- Insufficient stirring: The mixture may not have been stirred enough. It is important to stir the mixture until it reaches trace (when the mixture is thick enough to leave a trail).
- Insufficient curing time: The soap may not have been given enough time to cure. It is important to let the soap cure for at least 4-6 weeks.
Soap too soft or slimy
If the soap is too soft or slimy, it may be due to the following reasons:
- Insufficient lye: The lye may not have been added in the right proportion. It is important to measure the lye and the other ingredients accurately.
- Insufficient curing time: The soap may not have been given enough time to cure. It is important to let the soap cure for at least 4-6 weeks.
- Too much milk: If too much milk is added, the soap may be too soft or slimy. Try reducing the amount of milk and increasing the amount of other ingredients.
By troubleshooting these common issues, you can ensure that your breast milk soap turns out perfectly every time.
Proper Storage and Usage
After making breast milk soap, it is important to properly store and use it to ensure its effectiveness and safety. Here are some guidelines to follow:
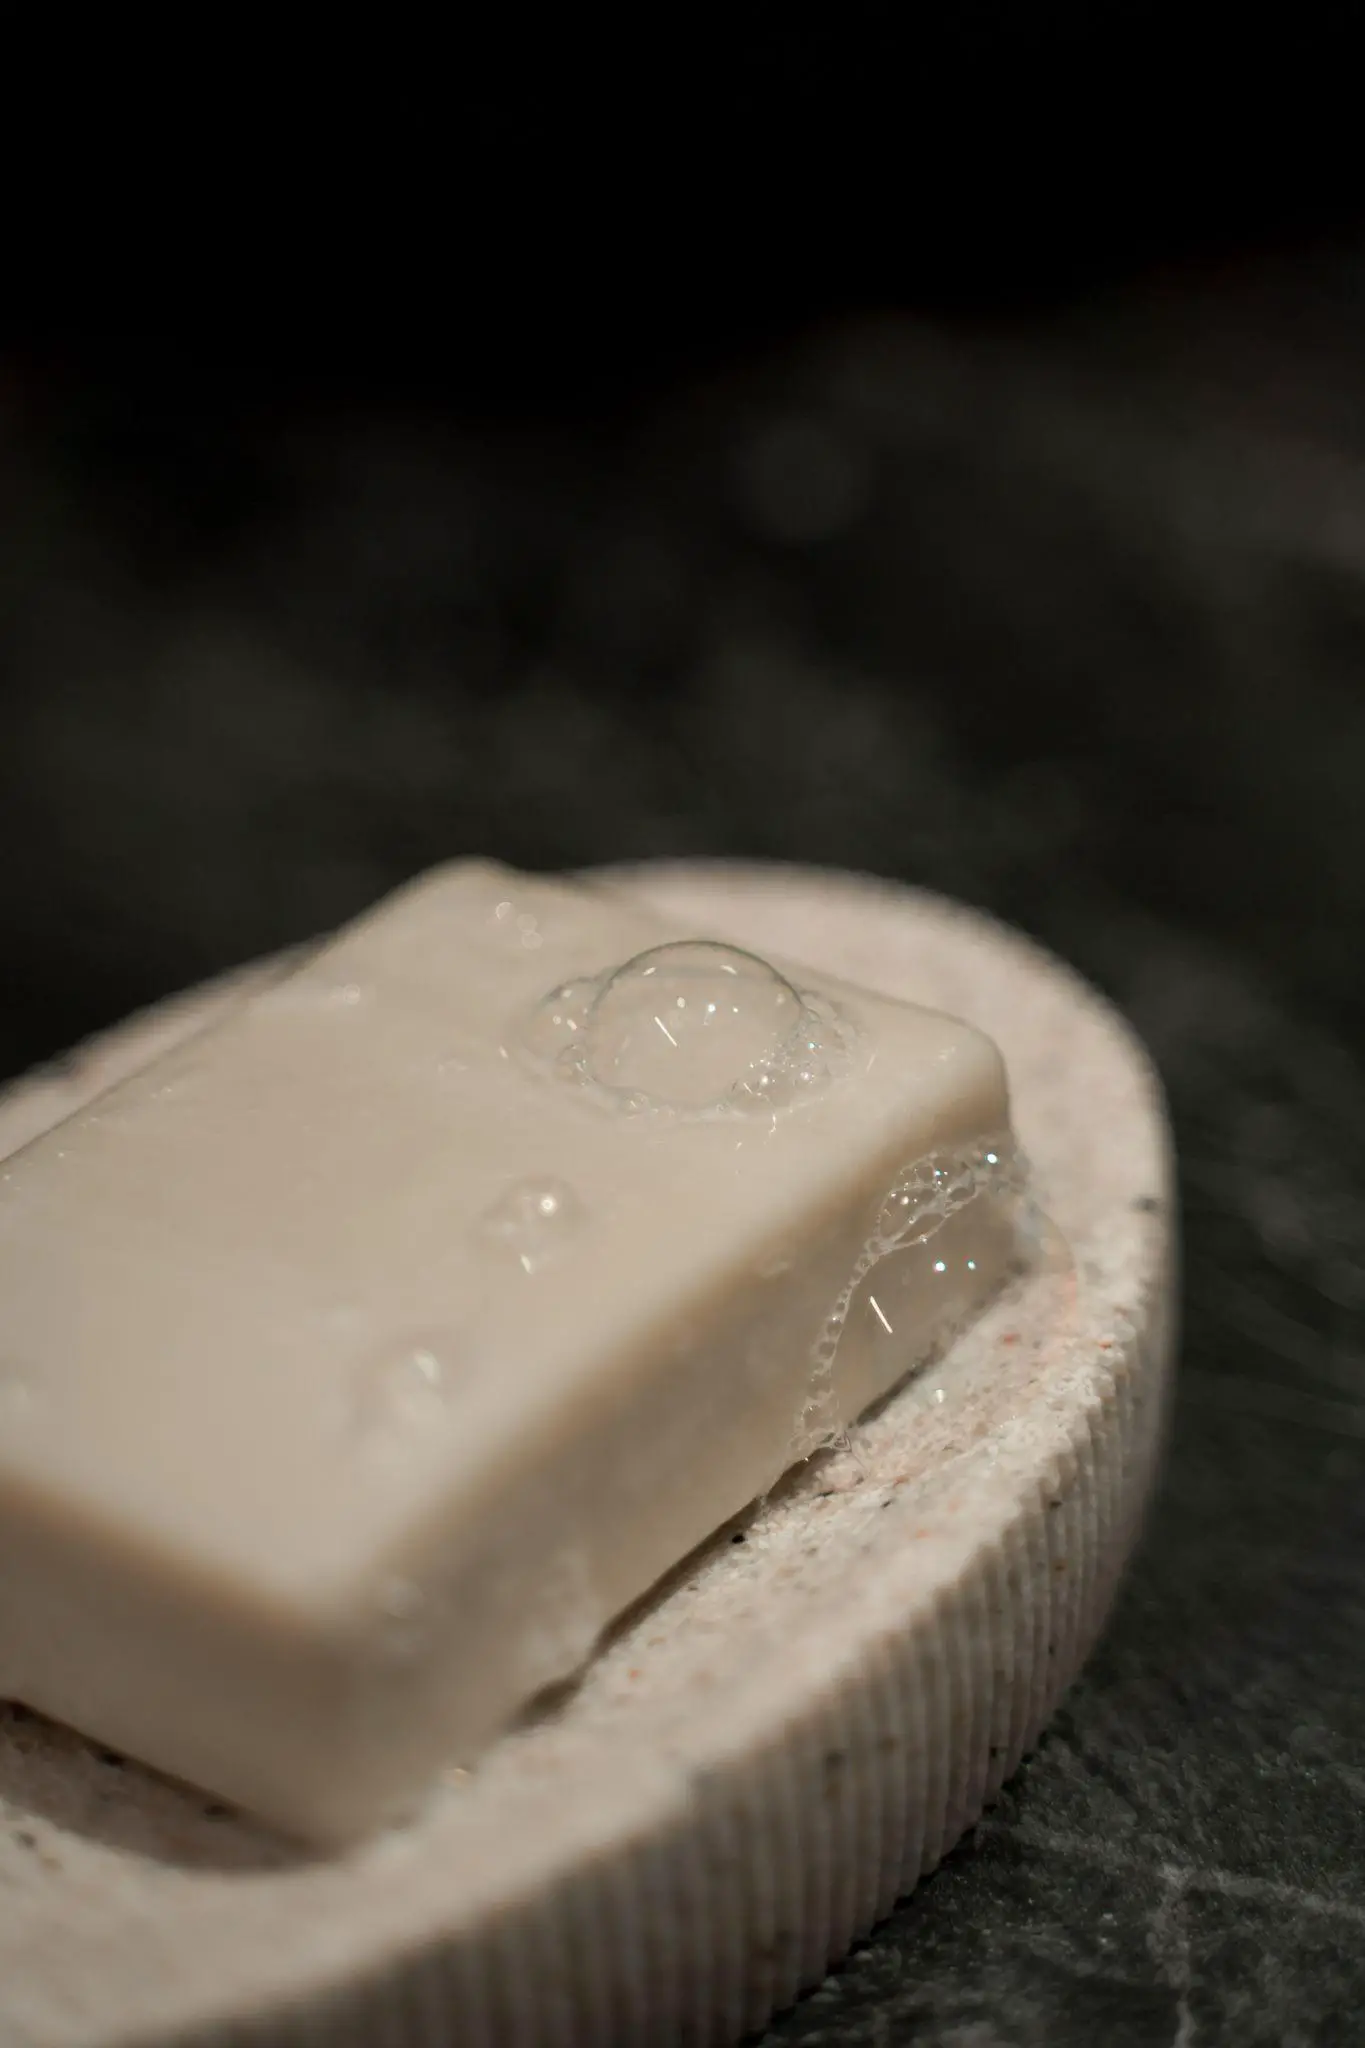
Storage
Breast milk soap should be stored in a cool, dry place away from direct sunlight. It is recommended to use an airtight container to prevent moisture from getting in and causing the soap to spoil. If the soap is not going to be used within a few weeks, it can be stored in the freezer to extend its shelf life.
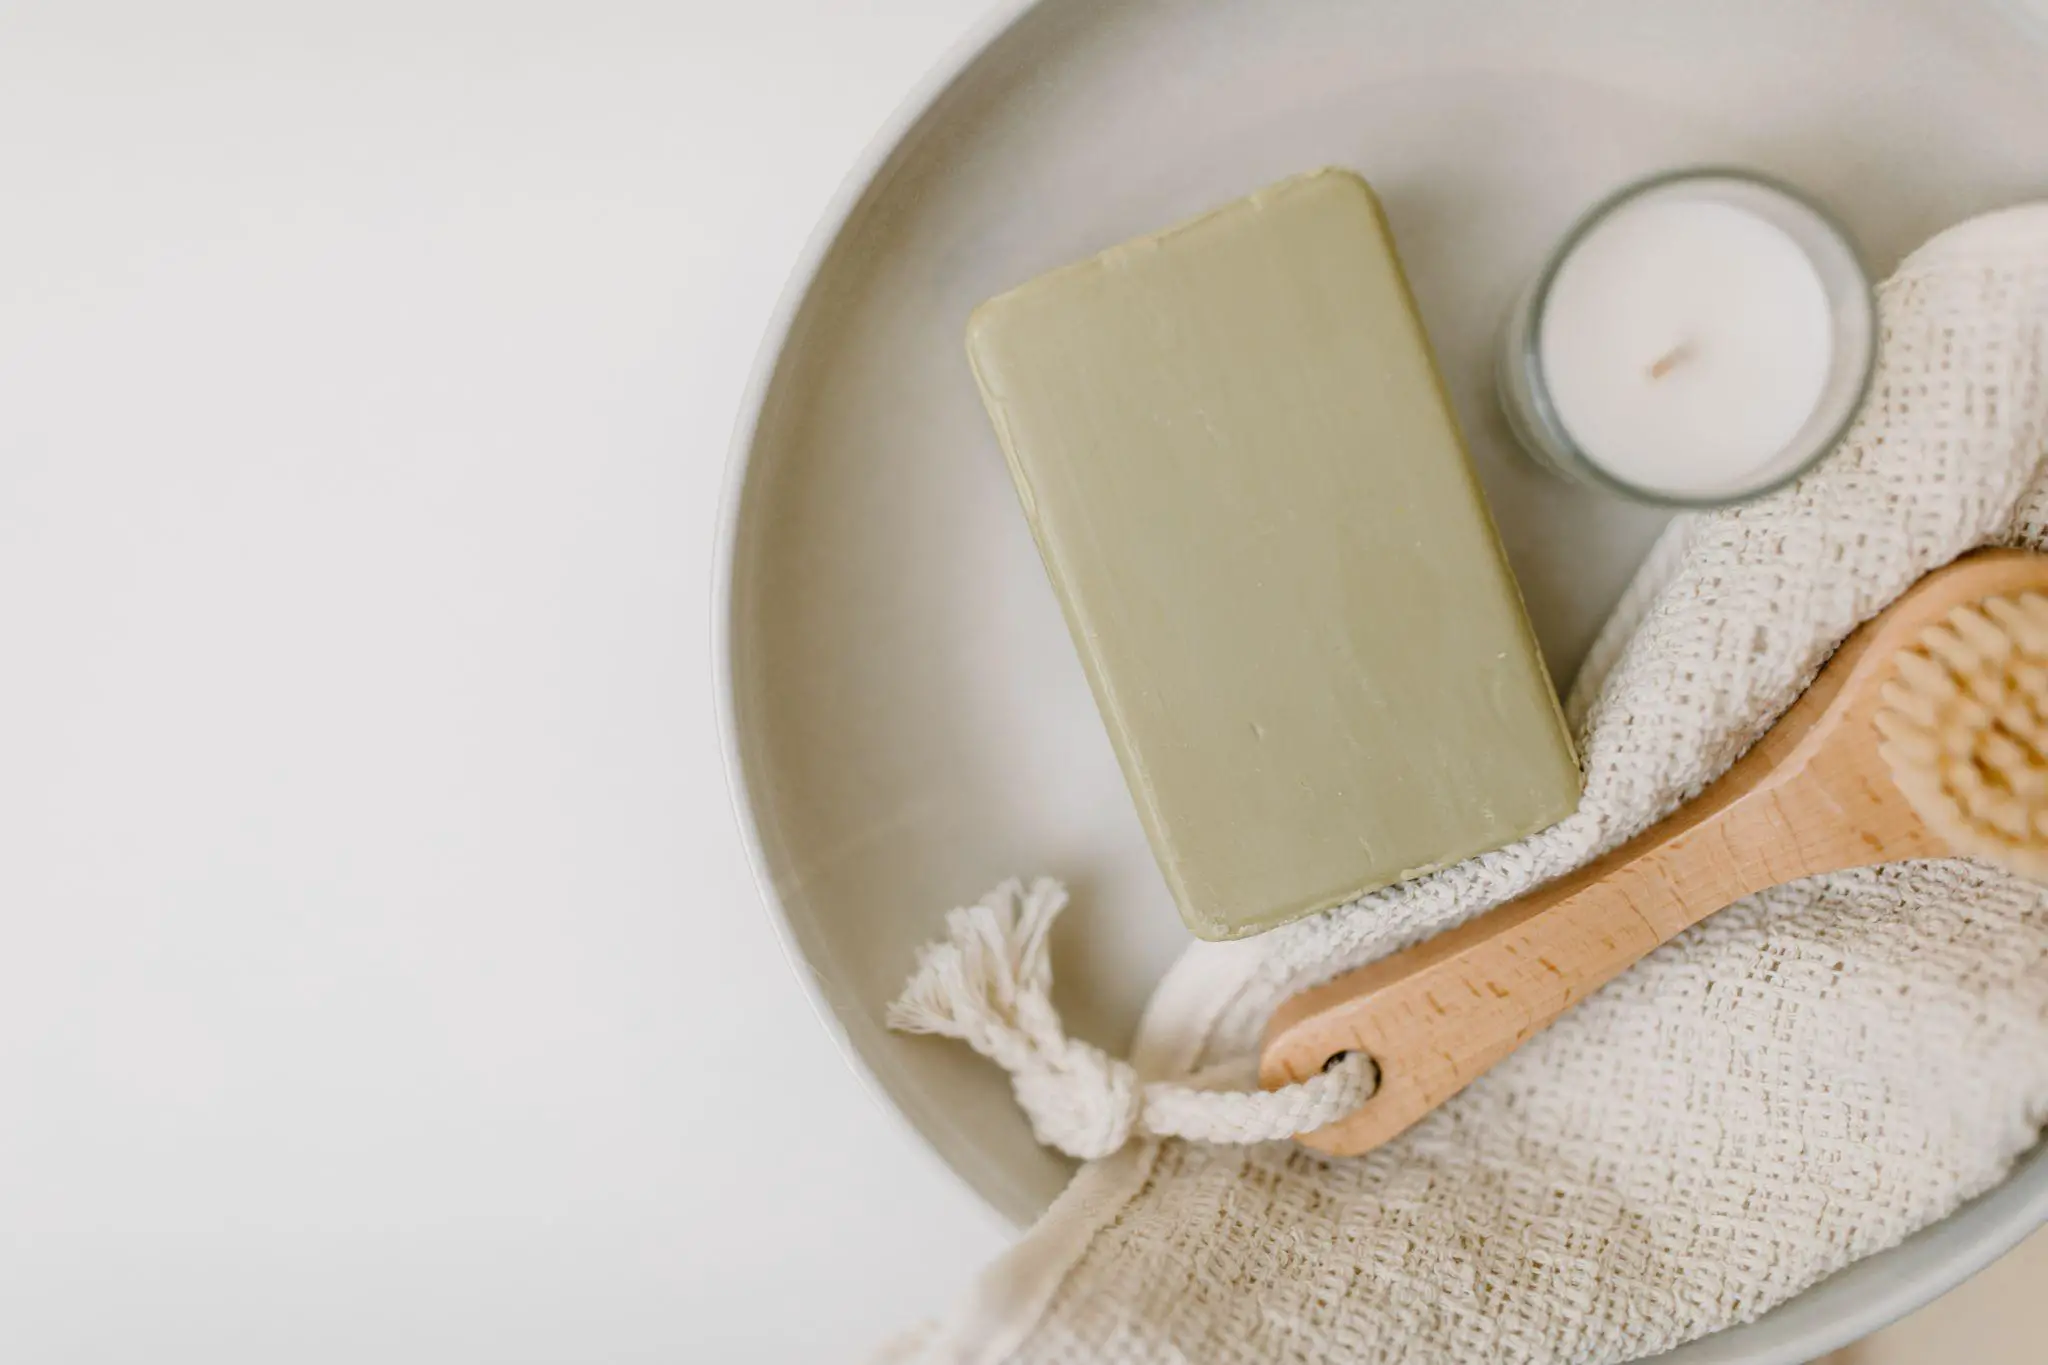
Usage
When using breast milk soap, it is important to keep in mind that it is not like regular soap. It is gentler and may not produce as much lather. To get the most out of the soap, it is recommended to use a washcloth or loofah to create a lather and gently cleanse the skin.
Breast milk soap can be used on the face and body, but it is important to avoid getting it in the eyes. If it does get in the eyes, rinse thoroughly with water.
Shelf Life
The shelf life of breast milk soap can vary depending on the ingredients used and how it is stored. Generally, it is recommended to use the soap within six months to a year of making it. If it starts to smell off or develops mold, it should be discarded.
Conclusion
Proper storage and usage of breast milk soap is important to ensure its effectiveness and safety. By following these guidelines, users can get the most out of their homemade soap and enjoy its many benefits for the skin.
Conclusion
In conclusion, making breast milk soap is a great way to use up any extra milk that breastfeeding mothers may have. The soap is gentle and nourishing for the skin and can help relieve dryness and itching.
There are two main methods for making breast milk soap: the melt and pour method and the cold process method. The melt and pour method is easier and quicker, while the cold process method requires more time and effort but allows for more customization.
When making breast milk soap, it is important to use high-quality ingredients and follow the recipe carefully. Adding too much breast milk can cause the soap to spoil quickly, so it is important to use the recommended amount.
Breast milk soap can also be a great gift for new mothers or a unique addition to a baby shower gift basket. It is important to note, however, that some people may have allergies or sensitivities to breast milk, so it is important to check with the recipient before giving breast milk soap as a gift.
Overall, making breast milk soap can be a fun and rewarding DIY project for breastfeeding mothers. With the right ingredients and techniques, it is possible to create a high-quality soap that is gentle and nourishing for the skin.
Frequently Asked Questions
How to Make Breast Milk Soap with Lye
Breast milk soap can be made with lye, a caustic substance that is used in soap making. However, it is important to note that lye can be dangerous if not handled properly. Those who are new to soap making may want to consider using a pre-made soap base or the melt and pour method instead.
Breast Milk Soap Recipe Medela
Medela, a popular brand of breast pumps, offers a breast milk soap recipe on their website. The recipe includes ingredients such as coconut oil, olive oil, and breast milk. It is important to note that this recipe does include lye, so proper safety measures should be taken.
Does Breast Milk Soap Need to be Refrigerated?
Breast milk soap does not necessarily need to be refrigerated, but it is recommended to store it in a cool, dry place. Storing it in a warm or humid environment can cause the soap to become soft or even melt.
Breast Milk Soap Recipe without Lye
For those who prefer to make soap without lye, the melt and pour method is a great option. This method involves melting a pre-made soap base and adding breast milk and other ingredients as desired. This method does not require handling lye, making it a safer option for beginners.
Cold Process Breast Milk Soap Recipe
The cold process method involves combining lye and oils to create soap. Breast milk can be added to this mixture as desired. It is important to note that this method requires careful measurement and handling of lye, so proper safety measures should be taken.
Breast Milk Soap Benefits
Breast milk soap is said to have many benefits for the skin. Breast milk is rich in vitamins and minerals that can promote skin health. It can also produce a rich, silky lather and enhance the effects of other ingredients such as honey and olive oil. Some also claim that breast milk soap can relieve skin conditions that cause itching and dryness. However, more research is needed to fully understand the potential benefits of breast milk soap.