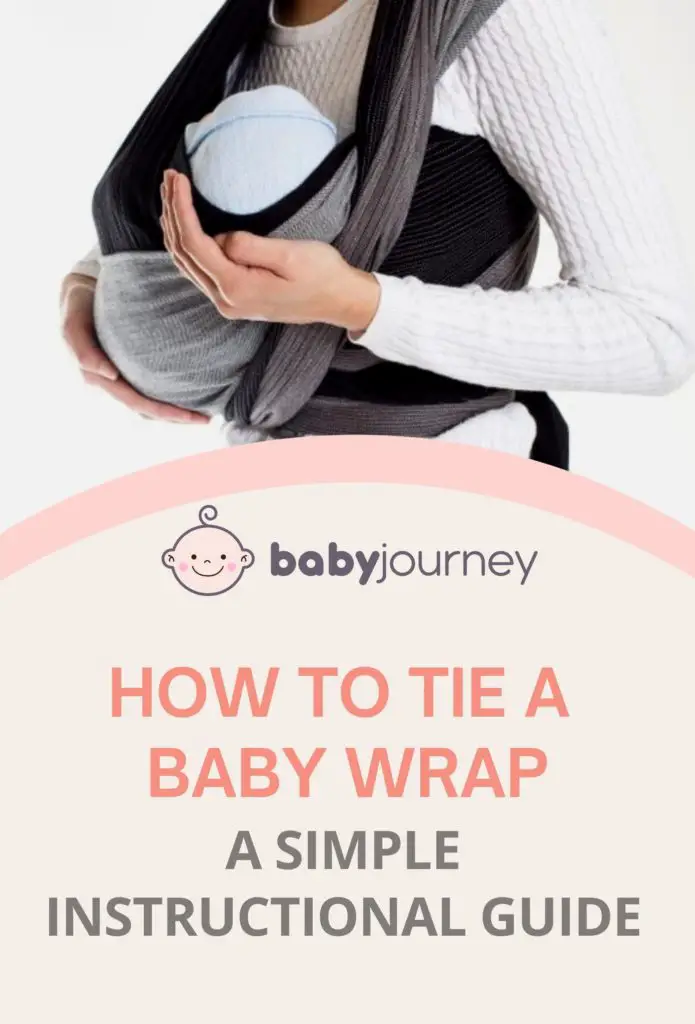
A baby wrap is a great way for new parents to carry their babies hands free. It’s easy, comfortable and can be used in many different ways. It’s also great if you are looking for a way to support breastfeeding as well!
However, it takes some practice before you master the art of tying your own baby wrap. In this article we will teach you step-by-step instructions on how to tie a baby wrap using the most common carry style. We will also cover the different baby wrap carry positions and ways to wrap baby.
We hope these instructions help you get started on learning how to use a baby sling wrap without feeling intimidated by a piece of cloth!
Determining Your Baby Wrap Type
There are two types of baby wraps available today; stretchy and woven. Both types are similar in the form of a long breathable fabric piece that you can wrap around your body to carry your baby around, the gesture known as babywearing. Both stretchy wrap and woven wrap work equally well when tied properly.
The difference between them lies in the type of weave pattern used. Stretchy wraps are made with stretchy material, while the woven one is less flexible. When choosing which kind of baby wrap to buy, consider what you want from your carrier.
If you prefer something more flexible and easier to get started with wrapping a baby, then go for a stretchy wrap. Otherwise, if you prefer something with more patterns and babywearing options, the woven wrap is your go-to carrier alternative.
Some of the popular baby wraps in the market include the Moby Wrap and the Boba Wrap, both of which belong to the stretch wrap category. If you’re looking for a good woven wrap, Baby K’tan is a good choice.
However, there are pros and cons associated with both types of baby wraps. Let us take a look at what makes each kind unique.
Stretch Wrap vs Woven Wrap Carriers
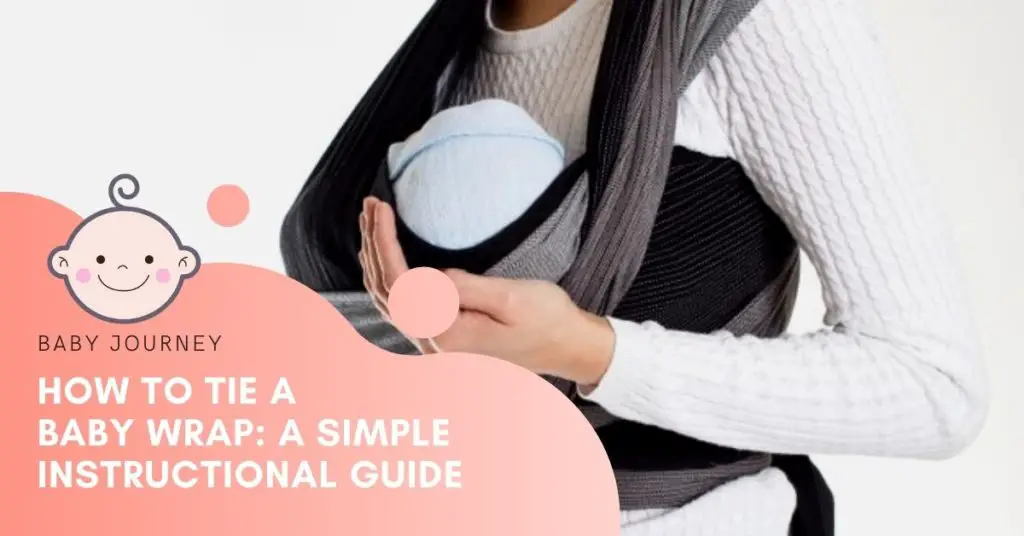
Take note that tying a baby sling is different from tying baby wrap. While some guides may use the terms interchangeably, for clarity purpose, we refer to baby sling as the ring sling, while baby wrap is a baby carrier great for hot weather that is made of a piece of either stretchy or woven fabric.
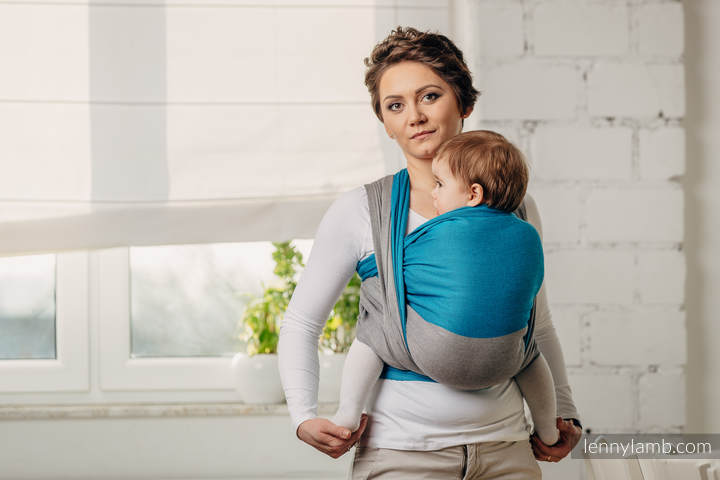
How to Wrap A Baby Basic Wrap Technique: The Pocket Wrap Cross Carry Style

The Pocket Wrap Cross Carry (PWCC) is a basic baby wrap technique that can be used regardless whether you wrap your baby with a stretchy sling wrap like a Moby wrap or woven sling wrap like the Baby K’tan. Here are step-by-step baby wrap instructions on how to baby wrap your little darling:
1. Start out by holding the top rail and placing the middle of the cloth against your belly. Most baby wraps should have a brand label or middle marker tag that marks the middle of the cloth to help you identify the center.
2. Bring the wrap fabric wide around your body, then cross the two ends to form an X across your back.
3. Next, bring each end over opposite shoulders. Spread the cloth evenly and smoothen the material on one shoulder and repeat the same process on the opposite shoulder. These are the parts that will hold your baby snugly later on.
4. Tuck both ends of the material behind the fabric wide part that is on your tummy, then cross the ends at the same time before you wrap them around your back again.
5. You may choose to tie baby wrap at the back, or bring both ends of the extra fabric to the front before tying a knot for more support if you have a longer wrap.
6. Check which side is the inside panel (the shoulder fabric closest to your chest) – you want to tuck your baby in there first before the outer panel on the other shoulder.
7. With the baby wrap ready in place, rest your baby’s weight against your chest and gently tuck your baby safely into the pocket of the inside panel, usually on your left shoulder.
8. Pull the front panel material up to cover your baby’s bottom. In case your baby is yet able to support its head, wrap some of the sling over part of baby’s head for more support. However, make sure you don’t fully cover the head as you want some space for airflow.
Other Types of Baby Wrap Positions
Cradle Hold Position
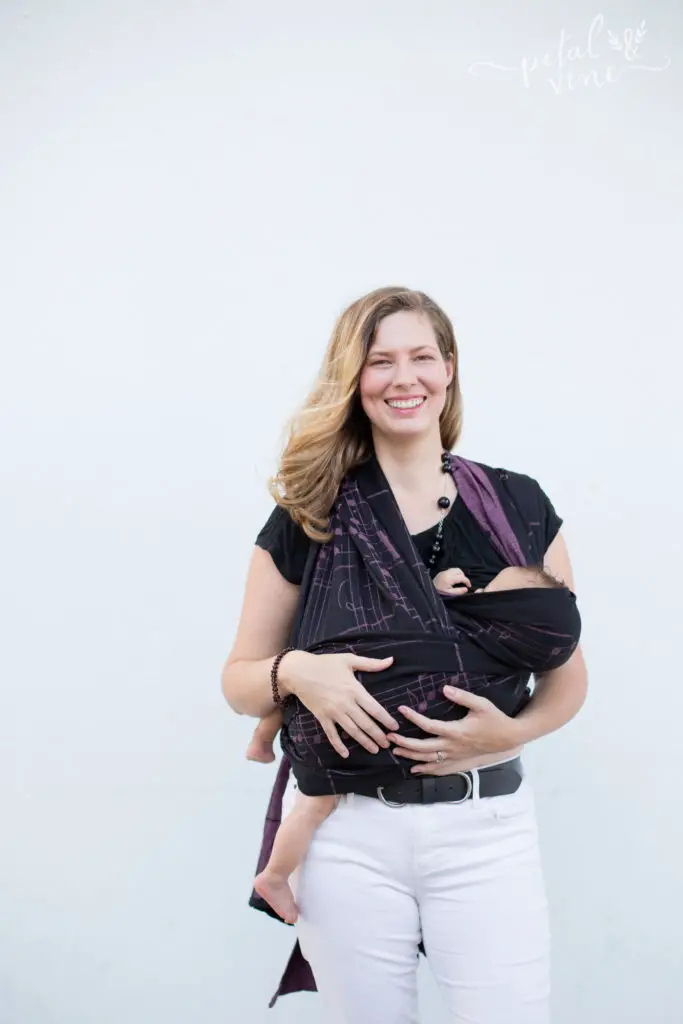
In this cradle position, both ends of the sling cross around your waist twice so that your baby’s body rests comfortably in the wrap pocket against your chest reinforced by the front panel of the wrap fabric. If you’re carrying an infant who can sit unassisted, cradle hold will allow him/her to do so without straining his/her back.
This baby wrap position is good for feeding breastmilk to baby inconspicuously. You can let your baby’s leg stick out if they are older or keep them tucked in for younger babies.
Good for: Newborns and infants who has yet to have good neck support or neck control
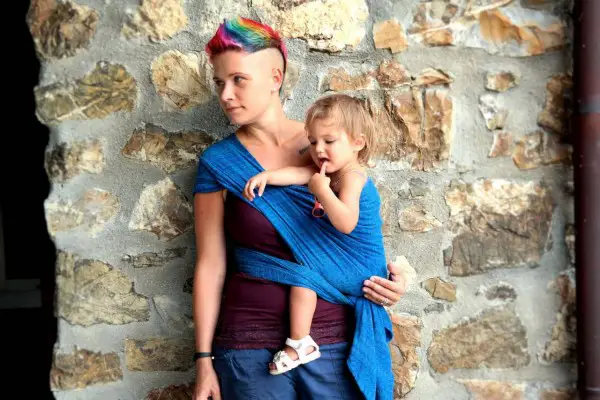
Front Wrap Cross Carry
With this chest to chest carry position, the front portion of the sling crosses behind your back, allowing you to rest your hands on your lower abdomen. The start of the front wrap cross carry style is similar to the pocket wrap carry, except the fabric goes under your baby’s bottom, your baby’s head is more centered and baby’s feet nicely tucked in to form an “M” shape for newborn baby. For bigger baby, your baby’s knees will be hugging the sides of your body with your baby’s legs left astride freely.
When used correctly, this front wrap cross carry position helps prevent strain on your shoulder muscles. You can use this baby safe carry style either with stretchy wraps or woven wraps of your choice. A more advanced front wrap cross carry method will be the short cross carry.
Good for: Newborn stage to preschool age, usually up to 40 lbs
Back Wrap Cross Carry
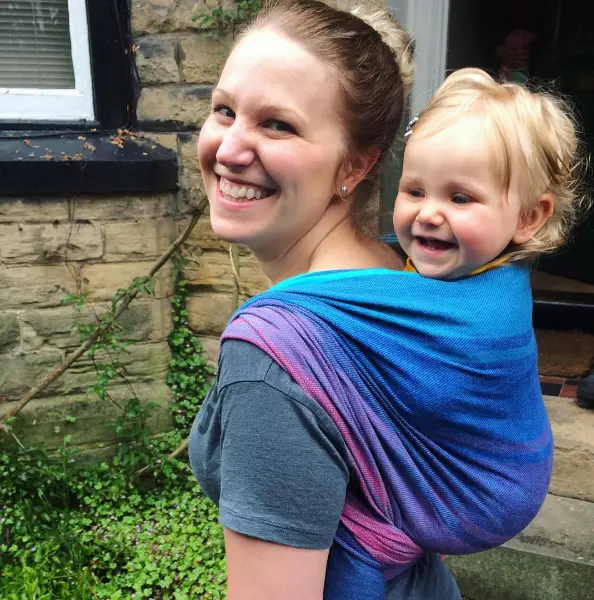
Similar to the Front Cross Carry, the difference here is that the back portion of the sling crosses under your armpits before you finish with a double knot in the front. The advantage of using this back carry position is that it allows you to leave your hands free to take items or do something else with your baby safely seated on your back. It also keeps your baby’s chin away from your own sweat which could cause discomfort.
The back carry is more suitable for woven wraps though if you still decide to use stretchy wrap for this (not recommended!), take care to ensure a really tight fit as improper carry structure may cause injury to your baby. The rucksack carry [1] and the reinforced rucksack carry are variations of the back carry.
Good for: Babies who are 6 months to 2 years old
Side Cross Carry or Hip Carry Position
There are many variants to the hip wrap cross carry including the Poppins hip carry [2] and Kangaroo hip carry. This one shoulder carry style is one of the baby wrap methods you can use with a short woven wrap, finished with a double knot.
This carry position has two advantages. First, because there isn’t a lot of baby’s weight being carried, it makes it easier to lift things like groceries. Second, since the baby’s legs aren’t crossed, your baby’s legs don’t get tangled up in the fabric.
Good for: Babies who are 5 months of age to 2 years old
Safety Considerations, Tips and Precautions When Tying and Using A Baby Wrap Carrier
While a baby wrap is meant to carry your child safely during hikes or walks without lugging heavy baby gear like a stroller, parents should be mindful of some of these tips and precautions for baby’s safety reasons:
Take care when adjusting the wrap
Always use caution when adjusting the size of the baby wrap carrier so as not to accidentally tighten it up. Adhere to the T.I.C.K.S rule [3] on how to wrap a baby on your chest, hip or back:
T: Tight – Your baby wrap should sport a tight, secure fit to keep your baby in a snug position, no slack allowed.
I: In view at all times – Your little one must not be hidden behind the baby wrap for fear of suffocation risks.
C: Close enough to kiss – If your baby’s face is close enough for you to smooch, it indicates the height of your carry position is well adjusted. Just tip your head to plant a kiss on baby’s face or head to check the closeness.
K: Keep chin off the chest – There may be dangers of breathing difficulties if your baby is curled against your chest, indicated by the closeness of the chin to your chest. You can test this by placing at least one finger or two fingers under your child’s chin to check for adequate space.
S: Supported back – Your baby’s back should always be totally supported by the wrap, straight and secure instead of looking slumped or slouchy.
Keep baby under constant supervision
Never leave your baby unattended while wearing a baby wrap and make sure to stay mindful as you carry them since your baby may obstruct your view when walking or moving around. Even though wraps are designed to protect infants, accidents can still happen.
Support baby’s weight in burping position
Remember to always support your baby’s neck and body in the process of tying baby wrap. Avoid putting pressure points on your infant’s head and back. These areas should never be pressed against anything hard such as walls or furniture as you place them in the wrap.
No objects inside wrap
Do not place small objects like pacifiers inside the wrap. They might fall out during movement causing injury to your baby. Be careful when removing items from your baby’s reach while your child is still in the wrap. The item must always come off first before taking your baby out of the sling wrap.
Refrain from activities that may compromise baby’s safety
Just because you feel happy being hands free with the handy babywear wrap, this doesn’t mean you are free to tend to all kinds of chores. You shouldn’t cook while babywearing or iron clothes with your baby in the wrap though.
Move baby to a safe sleeping place instead of sleeping in the baby wrap carrier
If your baby falls asleep in the baby carrier or sling wrap, gently move them to a safe place to sleep like a crib or bassinet. Letting your newborn or infant sleep in a baby wrap may pose suffocation dangers due to lack of ventilation.
Conclusion
A baby wrap carrier is a great alternative to soft-structured carriers or ring slings because it provides comfort and security for babies who cannot yet walk. To make sure that you are getting the best baby wrap carrier for your needs, consider all aspects of its design, function, safety features, ease of use, durability, cost, and style, before you proceed with step by step instructions on the many different baby wrap techniques.
We hope this short baby wrap tutorial helps you tackle baby wrapping with more ease and clarity! With proper instruction and plenty of practice, anyone can easily become proficient with this versatile carrier.
What do you think about using baby wraps? What is your preferred carry style, or are you team stretchy wraps or team woven wraps? Share with us your experience, thoughts or comments below!
—
Last update on 2024-04-26 / Affiliate links / Images from Amazon Product Advertising API